the case & the endpapers
In which many things are measured, cut, and glued
01
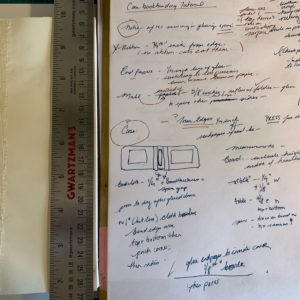
Next steps
I felt a great deal of trepidation about trimming the text block but it was surprisingly straightforward. Except for the part where I did some separate trimming of the endpapers for reasons that made sense at the time but really didn’t.
It turns out that my cats are particularly attracted to the parts of the bookbinding process that involve knives. This is unfortunate.
There was a lot of math involved in this step, which I combined with tracing, to arrive at the final dimensions for the book boards. A special shout out to this set of brass straightedges from George Hill. I’ve subsequently ordered a 1/8″ one. They are so very useful.
02
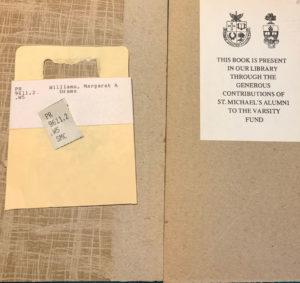
I used board from an old book weeded from a library. I wanted to keep the pocket and the bookplate, but there was no way to remove the latter and the former was damaged in the process. The old bookcloth/tape came off quite readily and I sanded down the surface afterwards.
The spine was the hardest to cut – the board is old and a bit weak so trimming this from an already small piece was challenging and it isn’t completely even. But it is very close.
03
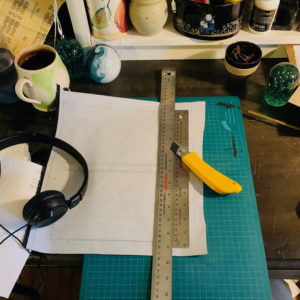
The Long Ruler got to make a special appearance in this step. I was pleasantly surprised at how easily this book cloth cut. So very smooth and satisfying.
It is Iris Book Cloth, paper-backed rayon in black. When I’m close to running out of my book cloth hoard, I hope to gather the supplies to make my own. To deal with my fabric hoard. (Yes, there is a trend here.)
04

This picture is crooked but the edges are not. The squaring off before cutting is so important. I was lucky that a lot of the materials I was using already had straight edges and at least one 90 degree corner.
You can see here the damage from trying to remove the library pocket.
05
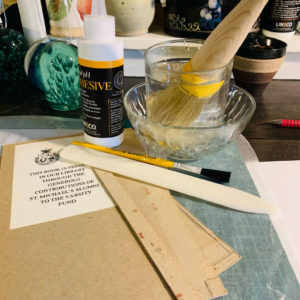
And here is the Glue Gang back together again. I didn’t soak the paste brush for very long at all this time.
Small glue brush is from Curry’s and the paste brush is the 26mm #10 from George Hill.
06
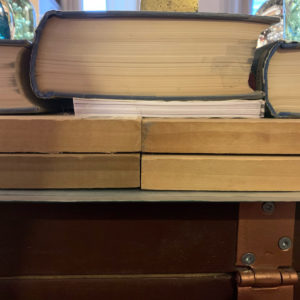
The actual gluing is not pictured because, as noted before, the PVA dries really fast. Here, though, is everything under weights, with the addition of volumes from Grove’s Dictionary of Music and Musicians and possibly excessive amounts of wax paper.
07
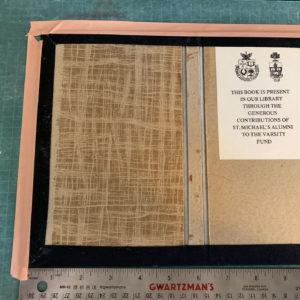
It turned out pretty well and with what was false confidence I began to glue the text block in. The left side went well — the washi tape guides were really helpful — but the right side. Well. I didn’t use the guides because I thought, hey, it’ll have to fit in right because the left is okay.
I was wrong.
So, I tried to reposition it but of course PVA dries REALLY QUICKLY so that was just a real dog’s breakfast.
Eventually I got things sort of okay.
08
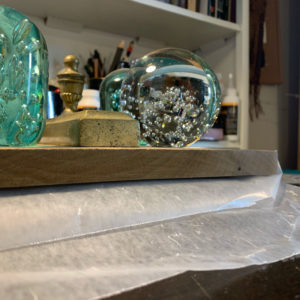
And back it went under the weights. And so, so much waxed paper.
And I crossed my fingers.
Next time I am definitely making wheat paste, which is more forgiving when it comes to repositioning.