the signatures & the sewing
In which sheets of paper are folded, marked, pierced, sewn, and glued
01
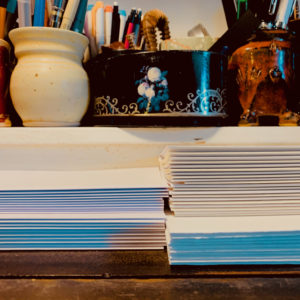
I made several different sets, using different papers and in different sizes; folios are to the left and quartos to the right.
I selected Clairefontaine Graf it sketching paper (A4, 90g), in folio, four sheets per signature, ten signatures in total.
This paper was chosen over others since it was thick enough to withstand clumsy sewing (I was partly right), economical enough for a first try, and heavy enough for fountain pens but not so heavy as to make a very thick spine for few pages.
02
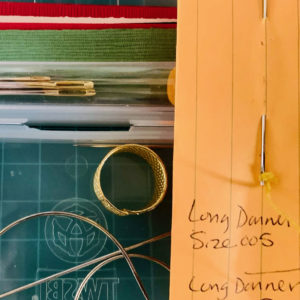
I used the long darner 005, a gift from a former colleague at the Kelly. I have since ordered blunt point needles because I kept piercing new holes in wrong places.
03
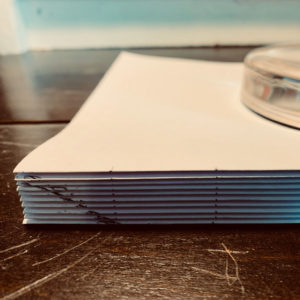
Using a paper weight helped keep the pages stable for marking the seven stations; having a press would help even more, but that’s the Dream.
What you can’t see here is that my measurements were off – there is more space at the top than the bottom. Sigh.
04
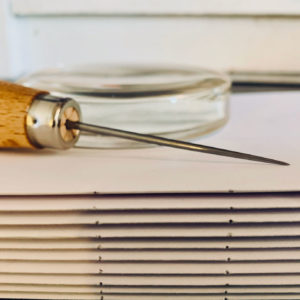
The piercing seemed to go well but when sewing I noticed that the holes weren’t straight and that the inner leaves’ stations were quite far off the centre.
I’m going to try piercing from the inside out next time, using a jig, as shown by Darryn Schnieder of DAS Bookbinding in this video. And will also take more care to align the papers before poking them with sharp implements.
05
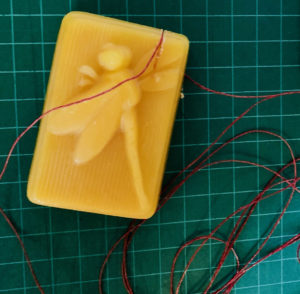
The thread is 30/3 Londonderry Linen in Cabernet (45), waxed to reduce tangling, which it mostly did. Mostly.
The stitching follows the method set out by Sea Lemon in her DIY Text Block for Case Bookbinding tutorial.
06
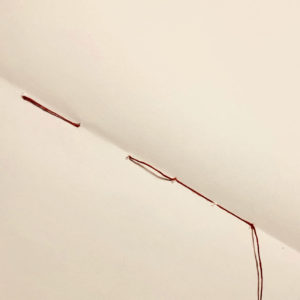
In addition to accidentally poking new holes, I managed to miss sewing through the middle of the signature.
07
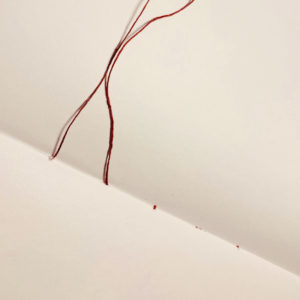
And I didn’t notice a large loop and tangle of thread that didn’t pull all the way through.
Luckily, those issues were fixed easily.
08
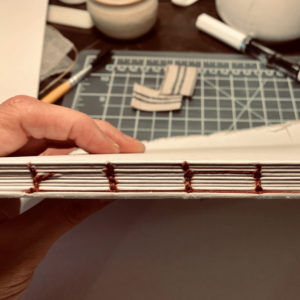
What wasn’t possible to fix was the tear created by pulling the thread too hard. And I have no idea what happened to cause that horizontal thread between the third and fourth holes.
All that aside, the finished block was pretty straight and tight. Sewing will definitely take practice: learning to hold the signatures to make flipping back and forth easier, finding the right tension, and using only the sewing stations that are already there.
All errors are, of course, my own and in no way due to defects in the tutorial.
NEXT: THE TEXT BLOCK & THE HEADBANDS
(this is my new band name)